Tuesday, April 22, 2014

DIY Burlap Sign On A Budget

DIY Burlap Sign Tutorial

(For under $10!)

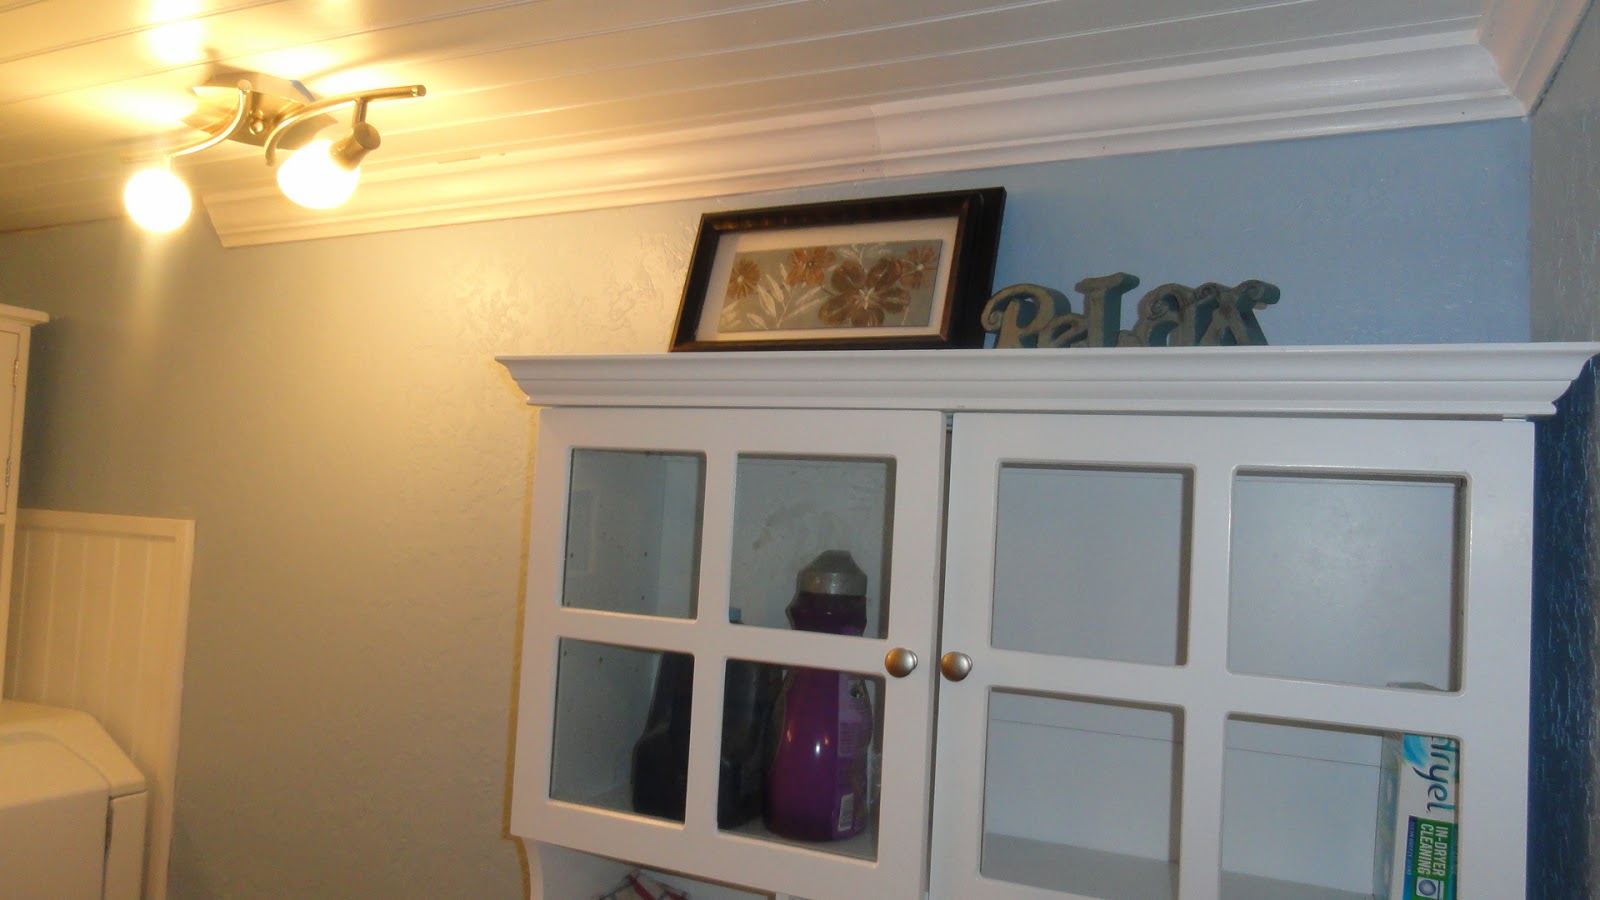
Today, I made this burlap sign:


Here's what you will need:
 
Picture Frame
Burlap
Paint
Stencils
Spray Adhesive
 
 
I bought this frame at the second hand store for just $2.75. 


It already had a print in it, so I had to take it out.  I scored the back paper with a knife, and then removed the cardboard, print, and glass.

 
Next I painted the frame.  I painted it with a brown base color and then used some glaze and black paint to distress.  Mix 1 part paint with 3 parts glaze, brush on, and wipe off.


While waiting  for the paint to dry, I started on the sign.  I used the cardboard back that I removed from the original frame.  I covered it with spray adhesive and stuck on my burlap.
 
I had this burlap on hand.  I like the chevron pattern, but it was too blue, so I flipped it over and glued it down.  This spool of burlap costs about $2 at Wal-Mart.
 
After your burlap is down, it's time to start stenciling.  You can do this several ways.  I chose to make my own stencils with my Cricut.  Using pre-made stencils, or pintables is also an option.
I wanted my sign to say something specific so I winged it.   Using my Cricut and contact paper I cut out my stencils. 

The nice thing about using Contact Paper is that it sticks to whatever surface you are working on. 
After my machine was done, I could just peel and stick.


Arrange your letters, and then use acrylic paint to carefully stencil them in.  I used what I already had on hand, but these normally cost about $1 each. 


Once the paint is dry, pull up your contact paper or stencil and wa-la!


I did not replace the glass on this frame because I liked the look better without it.  That's it!  Very easy, Very Cheap.  Total Cost: $7.75  My total cost was actually only $2.75 because I already had most of the stuff lying around the house. :)


Monday, April 21, 2014

Laundry room update


Laundry  Room Update


It's embarrassing, but here is what our laundry room used to look like:


It's a basement laundry room and a small one at that.  The placement of the washer and dryer made it virtually impossible!  When you were putting laundry in, you hit the wall behind you.  It was a nightmare.  I had a plan for it! 

It helps that I have free labor :)

First we had to gut the entire thing, Handy Man there had to re-route the plumbing too.  Here my hubby is putting in the new drywall.
 

Clean-Up Crew!
          

 Hubby's way of taking measurements and drawing out a plan. :)


After rerouting plumbing, we built a platform for our washer, dryer, sink, and hot water heater.  Here it is slightly unfinished.


And here is the finished product:


View from the doorway :)  Behind the washer and dryer, we put bead board on the wall, and hung a shelf. 

 
 Bead board on the ceiling too!  I like how it makes everything look crisp and clean.  For a small basement room, that was super important to me.
I know the pics are kinda dark... SORRY!
Since this, we have replaced the old dryer with a matching one.  It was a project!  But it was well worth the results!   What do you think? 

Sunday, April 20, 2014

DIY Fancy Toddler Braids


DIY FANCY TODDLER BRAIDS


I wanted to try something different with Little Miss today and this is what I came up with....


It is not as complicated as it looks.  Start by parting the hair evenly down the center like this:


I pulled one side into a ponytail so it's easier to work with.

 French braid one side and then the other.  You may notice that my braids are not 
perfectly even.  That is ok when you are putting ribbon in.  It hides sime of
the imperfections in the braids.  :)

Next, get a ribbon about 1 1/2 to 2 ft long. Start it just like threading a pair of shoe laces.
Gently lifting up a piece of the braid and threading the ribbon through, like this:


Then cross over and weave. Just like shoe laces.


 Keep doing this all the way down the back of the head.  When you reach the braids you can either weave through each braid or tie it off at the top of them.  Use an elastic to hold the ribbon in place either way.   
And that's it.  Pretty simple huh?   


You can do it with ponytails instead of braids too.


Try using more than one color or a pattern and a solid together.  Get creative!  


Wednesday, April 16, 2014

Faux Granite Countertops

            I have been so unhappy with my kitchen lately.  The white cabinets and ugly white and pink counter tops were just not flowing for me!  So I spent the last few days painting, painting, and more painting!  Did I mention painting?  

Hideous as far as counter tops go, and the cabinets I had previously painted white.  White cabinets with children are very hard to keep looking nice.  Plus, once I painted the counter tops, the old dingy white just lacked pizzazz.  
( Before) 
 I had already sanded and primed the counter tops here.
So here's what I did...
Nice huh?  IGNORE THE BACKSPLASH!  I haven't quite conquered that yet. First, I scrubbed and sanded the counter tops. 
 Next I primed them with Kilz. 

 Next, I painted the counter tops a grayish, brown color. (SORRY I FORGOT TO SNAP A PICTURE!)
 After all that, then came the fun part!  Glazing!  I luv glazing!  I mixed 1 part black paint with 3 parts glaze and went to work.

Here's the glaze all mixed and on my brush...


  Using a newspaper, I dobbed the paint on in small sections.  Then using a plastic grocery bag, I removed some of the glaze.  
Lay the plastic bag down and press firmly, then lift it up!  (You will go through several grocery bags.)  This is the result!


BEFORE


 AFTER


I LOVE THEM!!!!!!!

For the cabinets I did the same process but instead of doing the glaze with a newspaper and plastic bag, I brushed it on like normal, and wiped it off with a rag until I got the look I wanted.  


(With glaze brushed on)
 
(After I wiped it off)


I also added about 5 coats of varnish to the countertops, and 2 to the cabinets.  As far as maintenance on the countertops go, you can't use harsh cleaners.  I have just been using vinegar, and Dawn.  You can't let water sit on them either.  This will eventually cause you grief....
I decided it was worth the effort.  I love my kitchen now!  It looks so much cleaner!

What do you think?  Backsplash is still to come so stay tuned!